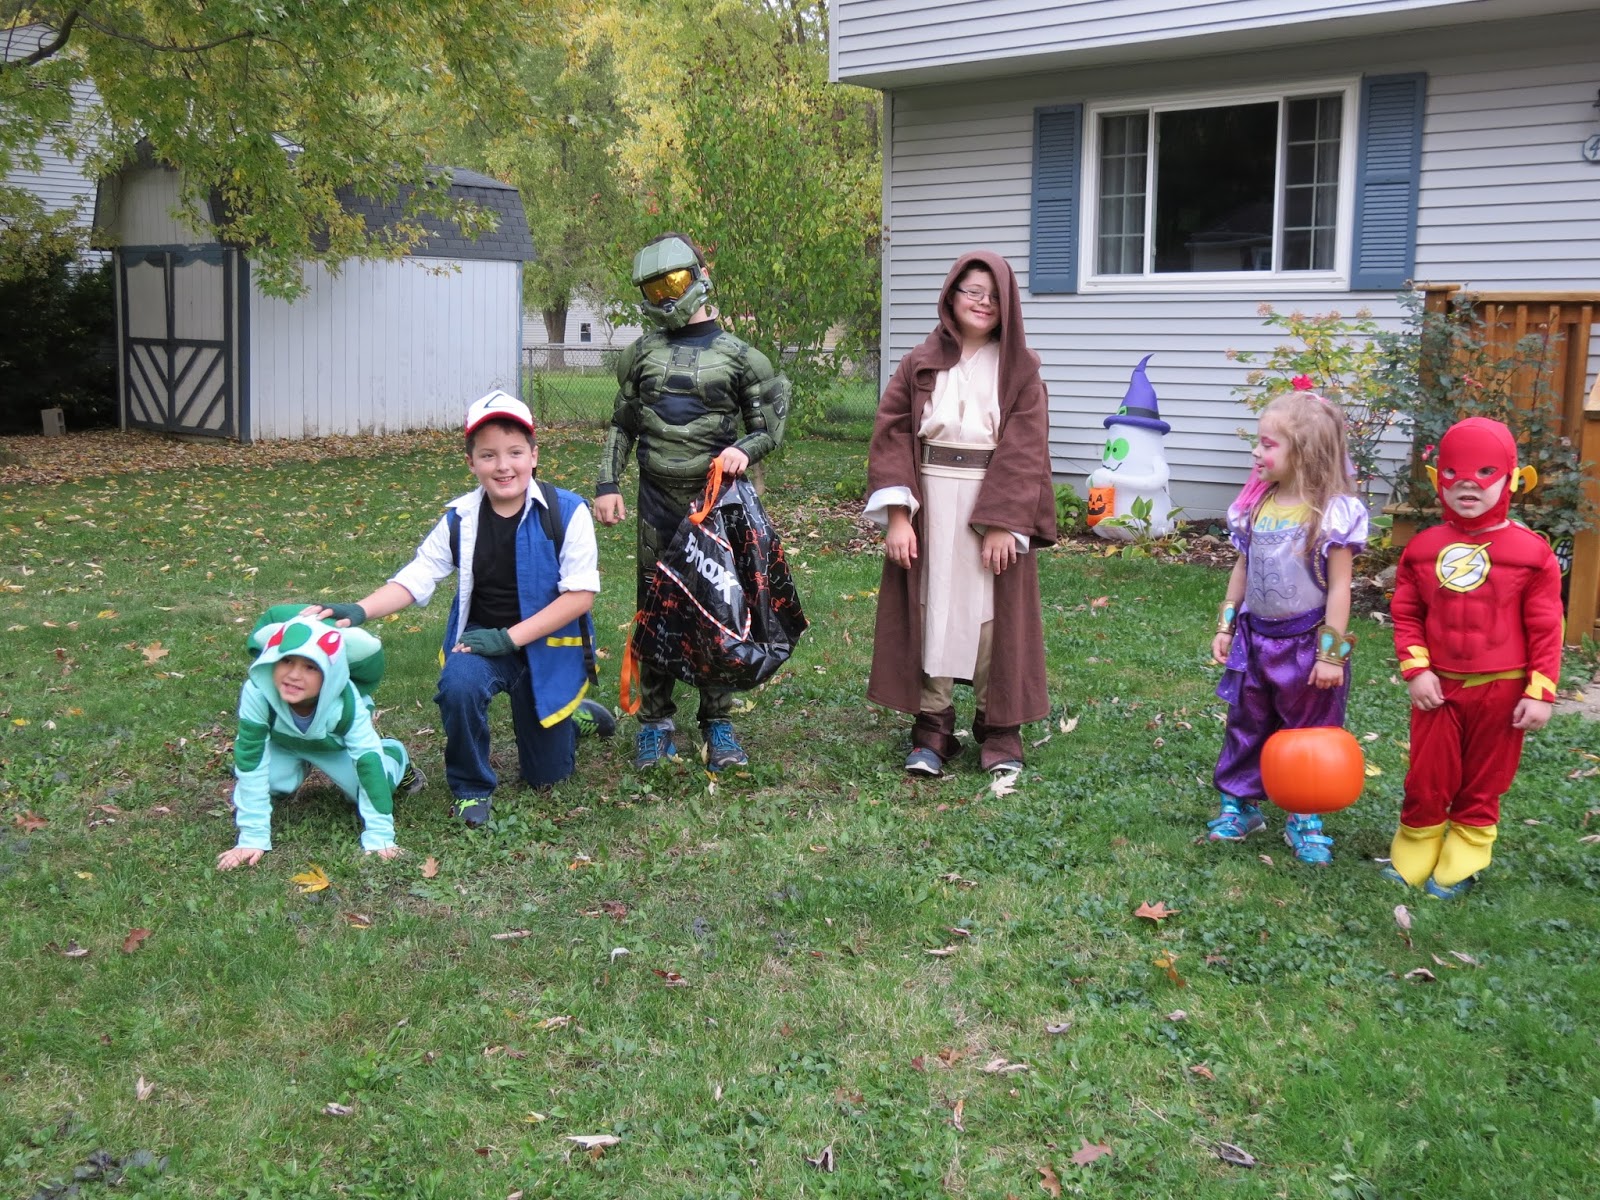
This year our youngest son, Noah, did not really get to choose his costume on his own. Mostly, because he is three and he constantly changes his mind. In fact, for our first Halloween event, he made a last minute costume change because again he is three and he has no idea what he wants. So this Halloween, Noah was dressed as either Flash or Batman. Both of these costumes were hand-me-downs from his older brother Alex. He looked super cute as both superheroes but personally, I preferred Flash.
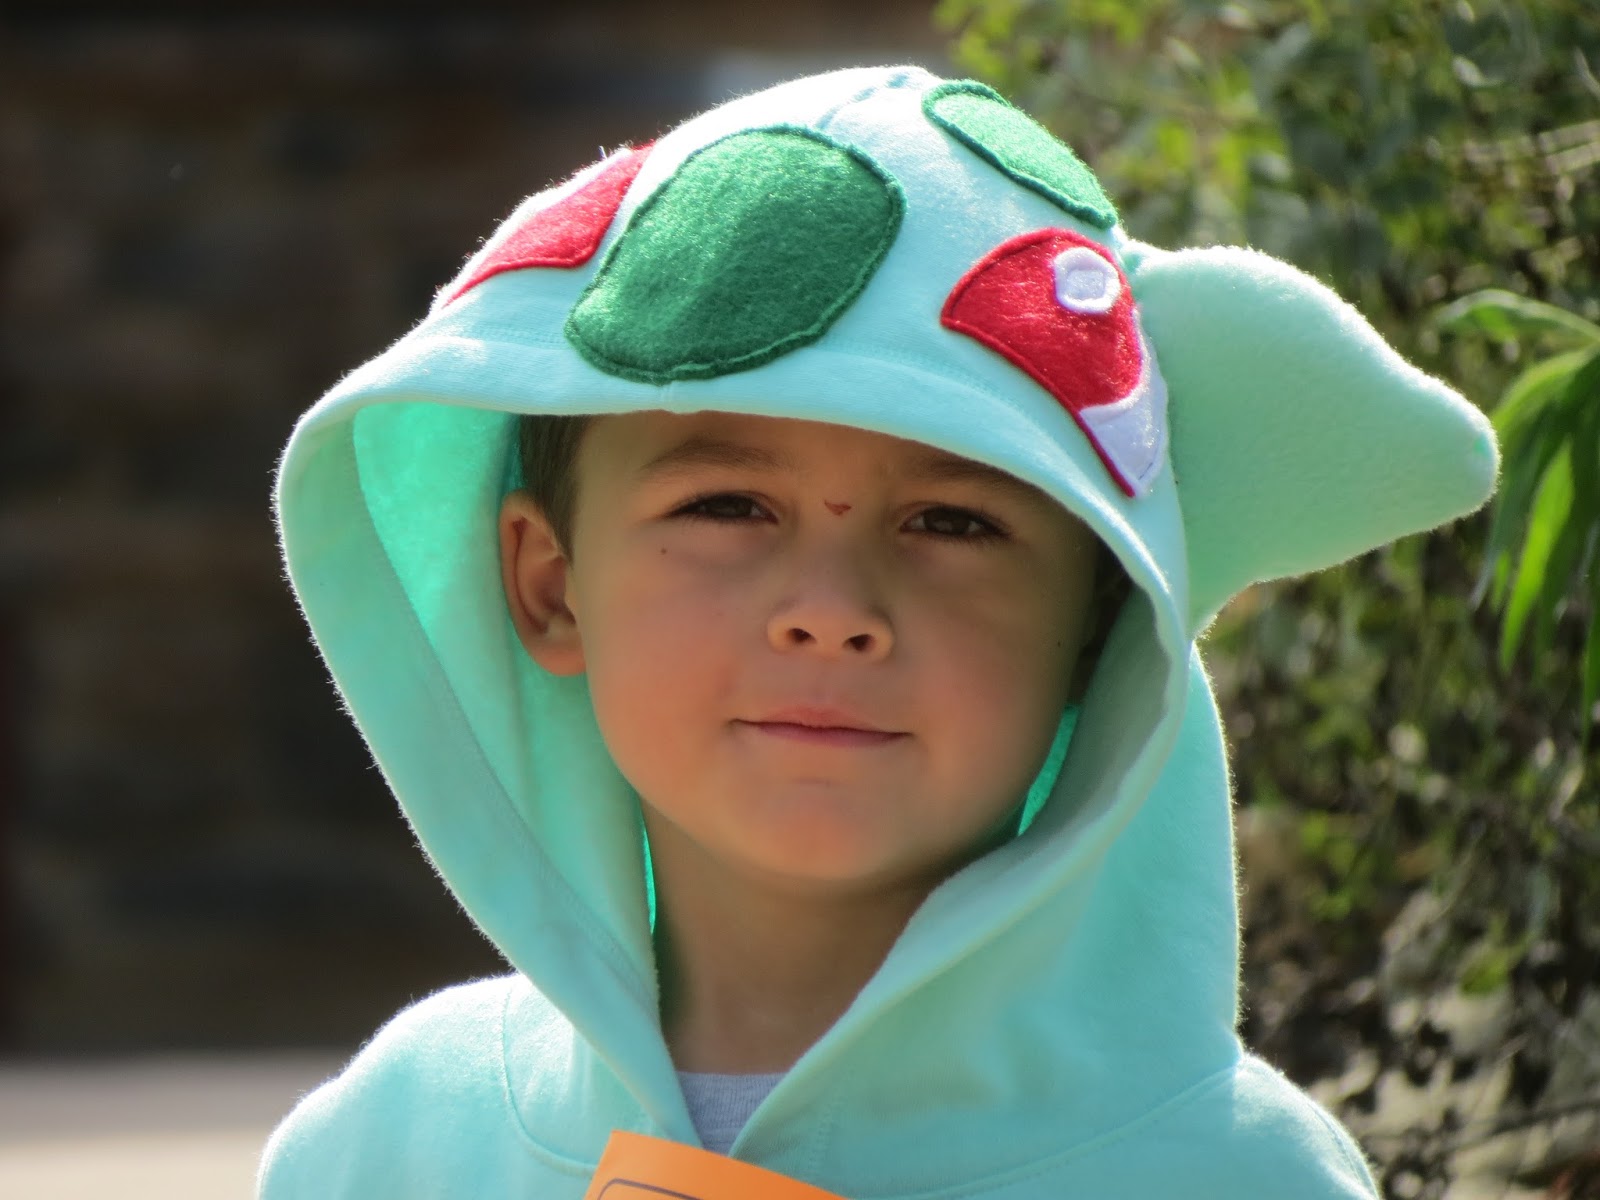
Our five year old, Chase, wanted to be Bulbasaur. Now, I did see that there were Bulbasaur costumes on Amazon; however they literally consisted of a hat and a backpack. I wanted him to have more of a full effect of Bulbasaur. So, I consulted Pintrest to browse ideas.
Click here for full instructions.

Now Alex, wanted to be Ash Ketchum. Ash was actually pretty easy (once I figured out my best plan of attack). Now, I know that the Ash costume is also available on Amazon; however sometimes I have a hard time justifying cost when the materials that are used for most Halloween costumes are pretty flimsy. So, to start with Ash, I did the easiest part first.
Click Here for Full Instructions

Bobby decided to give me the ultimate challenge this year. He wanted to be Steve from Minecraft complete with iron armor. I read a few pinterest pages where these costumes were made by printing sheets and adhering them to cardboard. However, our printer isn't the greatest and it certainly cannot print 11x12 pages. So, I went with my only other option...Steve was hand painted.
Click here for full instructions.
I managed to get these costumes done in time for our boys to attend a Halloween party and Boo at the Zoo. We received many compliments on them. Unfortunately, for Chase, we had a bit of a warm front that weekend and he got a bit sweaty in Bulbasaur. Alex did great in Ash and Noah did good with both Batman and Flash. Bobby a.k.a Steve loved his costume but I'm not sure he loved wearing the head. I ended up carrying the head most of the way through the zoo. When I wasn't by his side, Bobby would receive compliments on his costume such as, "nice Tetris piece, or nice computer chip". These comments were pretty funny and made the Steve costume all that much better.